
How to Test Indoor Air Quality at Home: What Your Monitor Can—and Cannot—Tell You
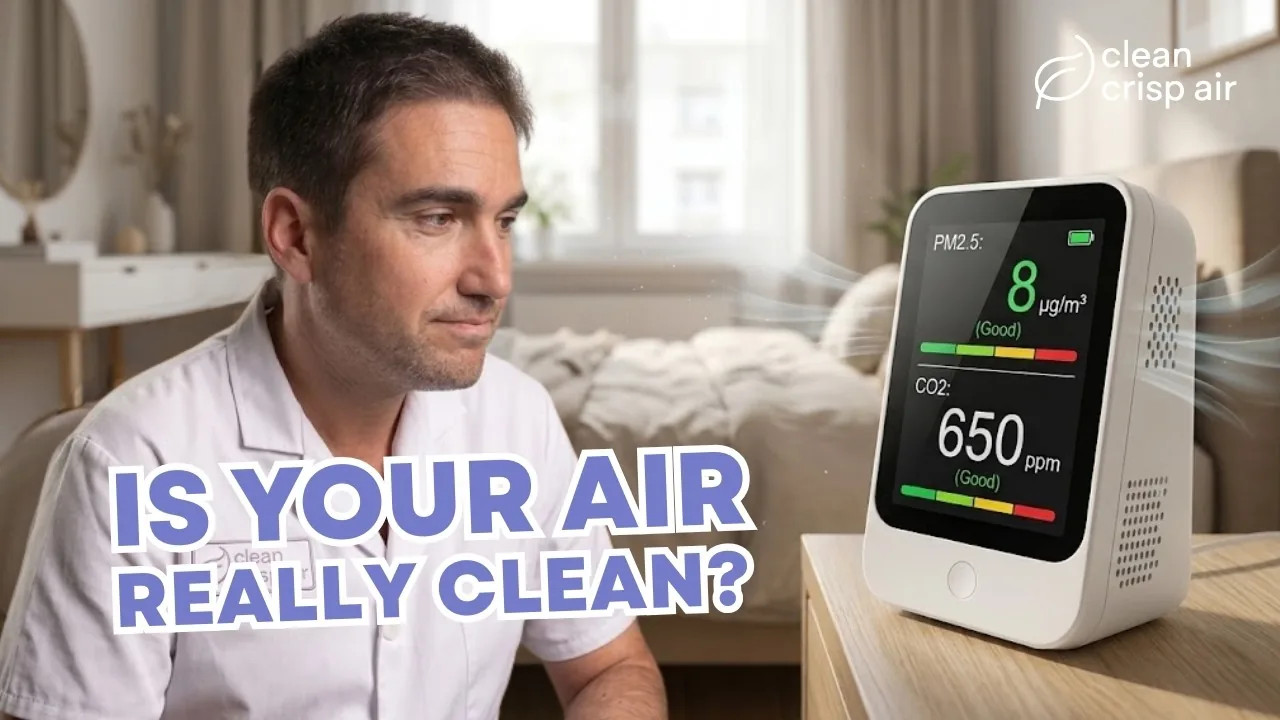
To test indoor air quality at home, use a monitor to track specific measurements—such as PM2.5, carbon dioxide (CO2), temperature and relative humidity—then compare rooms, activities and changes over several days. A consumer monitor can reveal patterns, but it cannot detect every hazard or diagnose health symptoms.
The useful question is not, “Is my air good or bad?” It is, “What changed, what did the sensor actually measure, and which action improved it?” This guide gives you a 30-minute room check and a seven-day protocol that turns random numbers into practical evidence.
Prefer to watch? See the complete Clean Crisp Air walkthrough below, or watch How to Test Indoor Air Quality at Home Without Guessing on YouTube.
What an indoor air quality monitor can measure
Consumer monitors combine one or more sensors in a single device. The exact mix matters more than the overall score on the screen. According to the US Environmental Protection Agency’s guidance on low-cost indoor air monitors, these devices detect only the pollutants or environmental factors they were designed to measure.
PM2.5
PM2.5 means airborne particles with diameters of 2.5 micrometers or smaller. Indoor readings can rise during frying, broiling, candle use, smoking, fireplace operation, cleaning that resuspends dust, or outdoor smoke events. A PM2.5 trend can help you test source control, kitchen exhaust and particle filtration.
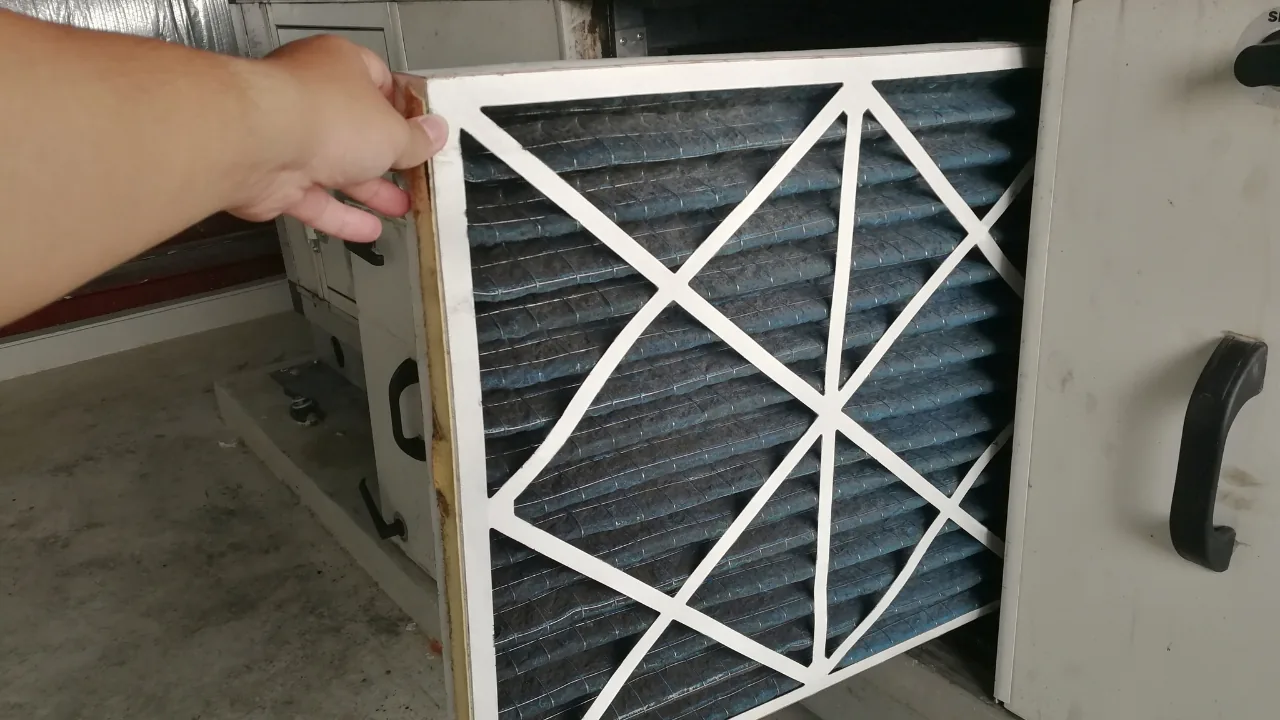
Particle readings do not tell you which chemical or material produced every particle. They also do not measure CO2, radon or carbon monoxide. If filtration is part of your response, our guide to MERV ratings and HVAC filter selection explains why capture efficiency, filter fit and system airflow all matter.
Carbon dioxide (CO2)
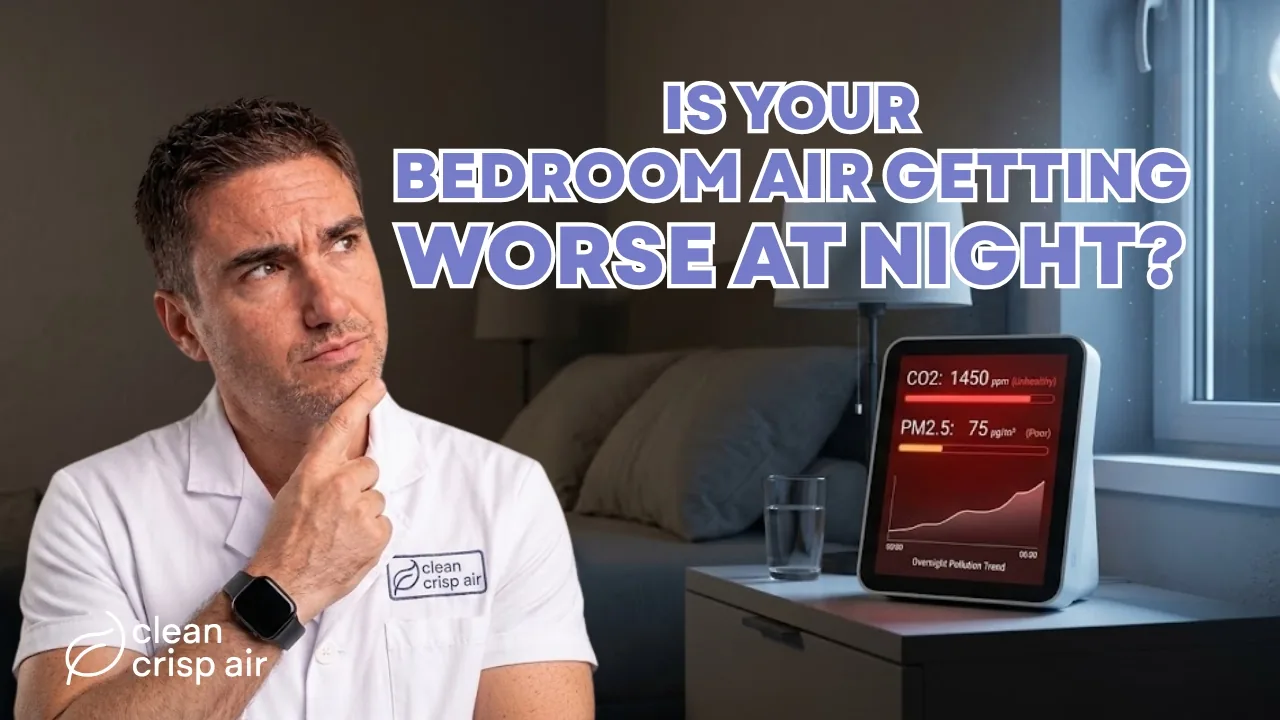
People exhale CO2, so an indoor CO2 trend can help show how occupancy and outdoor-air ventilation affect a room. It is especially useful in bedrooms, offices and gathering spaces. Our seven-night bedroom air quality test shows why overnight PM2.5, CO2, humidity and temperature must be read as separate signals. A rising CO2 reading with people present can suggest that exhaled air is accumulating faster than the room is being ventilated.
CO2 is not the same as carbon monoxide (CO), and a general air-quality monitor is not a substitute for a certified CO alarm. CO2 is also not a complete measure of infection risk or total indoor air quality. Treat it as contextual information about occupancy and ventilation—not a universal safety score.
Relative humidity and temperature
Relative humidity changes with both moisture and temperature. Tracking both helps you interpret condensation, dry-air complaints and dehumidifier performance. The EPA commonly recommends keeping indoor relative humidity below 60% and, where practical, around 30% to 50%, while recognizing that climate and cold exterior surfaces affect the right target for a particular home.
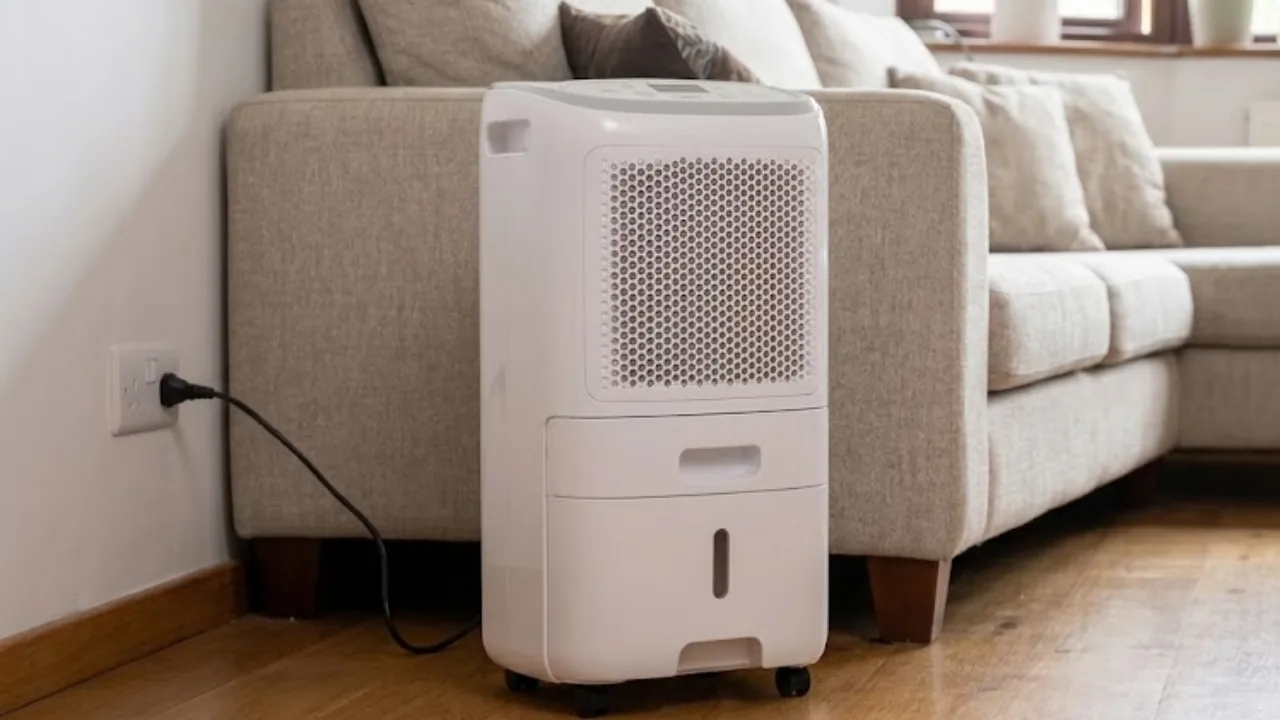
If your readings show persistent high humidity, start with the moisture source. See our guides to choosing a dehumidifier for your home and deciding when a dehumidifier can help with condensation.
VOC trends
Many consumer devices report a total volatile organic compound value, often labeled TVOC. These sensors can react to changes after painting, cleaning, using fragrances, unpacking new furnishings or bringing solvents indoors. The trend may help you connect a spike to an activity.
Do not treat a generic TVOC number as laboratory identification of a specific chemical. Sensor response varies, humidity may affect readings, and one combined number cannot tell you which compounds are present or whether a particular exposure is safe.
What a home monitor cannot reliably tell you
An attractive dashboard can create false confidence. The EPA warns that low-cost monitors do not provide a complete representation of indoor air quality, and information about the indoor accuracy of some products remains limited. A monitor also cannot determine whether symptoms were caused by the reading on its screen.
Unless the device was specifically designed and validated for the job, do not rely on it to rule out:
- Carbon monoxide: Use properly installed, certified CO alarms. If one sounds, move outside and contact emergency services; do not stay inside looking for the source.
- Radon: Use a radon test kit or qualified measurement professional. A PM, CO2 or TVOC monitor cannot clear a home for radon.
- Mold hidden in materials: A humidity reading can reveal moisture conditions, but it cannot prove that a wall is mold-free.
- Asbestos, lead or a specific chemical: These may require material sampling, targeted instruments or qualified professionals.
- Every biological contaminant: A general monitor does not identify viruses, bacteria, allergens or individual mold species.
Emergency alarms deserve their own lane. The US Consumer Product Safety Commission recommends CO alarms that meet the current UL 2034 safety standard and are installed according to manufacturer instructions.
Why one “air quality score” can mislead
A single color or score compresses several measurements into an algorithm chosen by the manufacturer. One pollutant may improve while another gets worse. For example, an air cleaner may reduce PM2.5 while CO2 continues rising in a closed, occupied bedroom. The screen could look reassuring even though the room still needs more outdoor air.
Open the detailed sensor view instead. Record each measurement separately, note the room and activity, and focus on repeatable changes rather than one dramatic number. The EPA notes that manufacturers may set alert thresholds because widely accepted indoor concentration limits do not exist for many pollutants.
Where to place an indoor air quality monitor
Placement can distort the result. Put the device where it can sample the air people normally breathe, then follow the manufacturer’s instructions for height, clearances, power and calibration. Keep the setup consistent when comparing days.
Avoid placing the monitor:
- directly beside an open window, exterior door or supply vent;
- in the stream from an air purifier, fan, humidifier or dehumidifier;
- right above a stove, shower or candle unless you are intentionally measuring that source;
- in direct sunlight or against a hot or cold exterior surface;
- behind furniture, curtains or other barriers that block normal room airflow.
For room-to-room comparisons, use the same placement logic in each space. A reading beside a kitchen range is not comparable with one taken across the living room.
The 30-minute room air check
This quick check is not a full home assessment. It is a controlled way to learn how your monitor behaves and identify obvious changes.
- Choose one occupied room. Record the date, time, number of people, open doors or windows, HVAC state and outdoor conditions.
- Let the monitor stabilize. Follow the manufacturer’s warm-up guidance. Do not judge the room from the first number after moving the device.
- Record a 10-minute baseline. Note PM2.5, CO2, relative humidity, temperature and any other sensor values at regular intervals.
- Make one deliberate change. Examples include turning on a vented range hood after cooking, opening a window when outdoor air is suitable, or running a correctly sized particle air cleaner.
- Track the next 20 minutes. Watch which measurement changes, how quickly it responds and whether the change persists.
Change only one major variable when possible. If you open two windows, light a candle and start an air cleaner at the same time, the graph may move—but it will not tell you which action caused the result.
The seven-day home air testing protocol
A week of consistent observations is more useful than chasing isolated peaks. Use one monitor in one primary room or rotate it between rooms on a fixed schedule. If you move it, record the exact time and location.
Day 1: establish a normal baseline
Run the home normally. Record occupancy, HVAC operation, windows, weather and major activities. Do not “clean up” the air just to make the graph look better.
Day 2: compare rooms
Check the bedroom, main living area and another relevant space under similar conditions. Look for repeated differences, not a winner based on one instant reading.
Day 3: track cooking
Record readings before, during and after cooking. Note the cooking method and whether a range hood vented outdoors was used. Keep safety first; do not create smoke or intentionally burn food for a test.
Day 4: track cleaning and fragrance products
Note when sprays, solvents, fragrances or vacuuming occur. Observe PM and VOC trends, but do not assume the monitor identifies a particular chemical.
Day 5: test ventilation
In an occupied room, compare the normal setup with a safe ventilation change. Consider outdoor air quality, weather, security and pollen before opening windows. Mechanical ventilation should be operated as designed.
Day 6: test the relevant control
Match the control to the problem: filtration for particles, ventilation for accumulated CO2, or moisture control for high humidity. Record the device settings and the time it ran.
Day 7: repeat the strongest finding
Repeat the activity or control that produced the clearest pattern. If the result does not repeat, treat the original spike as a clue rather than a conclusion.
Use this simple air quality tracking sheet
For each observation, record:
- date, start time and room;
- number of people and pets present;
- doors, windows and HVAC settings;
- outdoor weather, smoke or unusual conditions;
- activity, such as cooking, cleaning, showering or candle use;
- PM2.5, CO2, relative humidity, temperature and VOC readings;
- action taken and the reading 10, 20 and 30 minutes later;
- anything that could have confounded the result.
A screenshot is useful, but notes provide the missing context. “PM2.5 rose at 6:12 p.m.” is weaker evidence than “PM2.5 rose during pan-frying with the recirculating hood on and declined after the vented exhaust started.”
Match the reading to the right response
- Particles increased: Stop or reduce the source when safe, use effective exhaust, prevent outdoor smoke entry when conditions are poor, and consider suitable filtration. A filter does not remove CO2.
- CO2 increased with occupancy: Review outdoor-air ventilation. Opening windows may help when outdoor conditions are appropriate, but climate, outdoor pollution and building design matter.
- Humidity stayed high: Find moisture sources, use bathroom and kitchen exhaust, repair leaks and consider correctly sized dehumidification. Do not use a dehumidifier to hide water intrusion.
- VOC trend jumped: Stop or isolate the suspected source when safe, follow product labels, increase appropriate ventilation and seek targeted advice for serious or persistent concerns.
- A CO alarm sounds: Treat it as an emergency. Move outside and call emergency services.
- You suspect radon: Use a radon-specific test. The EPA explains where to obtain test kits and qualified help.
The broad control hierarchy is simple: reduce or remove the source first, ventilate when appropriate, and use supplemental filtration for pollutants the filter is designed to capture. No single machine fixes every category of indoor air problem.
When professional indoor air testing is worth it
Professional help may be appropriate when the question requires instruments, sampling or expertise your monitor does not provide. Examples include persistent symptoms, combustion concerns, suspected hidden moisture damage, repeated unexplained odors, a chemical release, a real-estate or workplace dispute, or a problem that continues after reasonable source control.
Before hiring anyone, define the question you need answered. Ask what the provider will measure, why those methods fit the suspected problem, which standards or reference methods they use, what the report includes and whether the company also sells the remediation it recommends. A long list of tests is not automatically a useful investigation.
If anyone may be in immediate danger—especially from fire, carbon monoxide or an acute chemical exposure—leave the area and contact emergency services or the appropriate poison-control resource. Do not wait for a consumer monitor to confirm the hazard.
The bottom line
An indoor air quality monitor is best used as a pattern detector. It can show how a measured factor changes by room, activity and intervention. It cannot certify that a home is healthy, identify every pollutant or replace smoke alarms, CO alarms, radon testing, medical advice or a qualified investigation.
Start with a stable baseline, change one variable, record context and repeat the result. That approach turns a colorful dashboard into something far more valuable: evidence you can use to choose the right fix.
Frequently asked questions
Can a home air quality monitor detect mold?
Most consumer monitors cannot detect or identify mold. Humidity data can show conditions that may support moisture problems, but it cannot prove whether mold is present behind a wall or determine a species.
Can an air quality monitor detect carbon monoxide?
Only rely on a device specifically designed and certified as a CO alarm for emergency warning. A general-purpose indoor air monitor is not a replacement, even if its dashboard includes a gas-related score.
How long should I monitor indoor air quality?
Use at least several days to capture occupancy, cooking, cleaning, sleep, HVAC cycles and changing outdoor conditions. A 30-minute check can reveal a response to one activity, while a seven-day log is better for repeatable household patterns.
Should I test every room?
Start with spaces where people spend the most time and rooms with a known source or concern. Use consistent placement and conditions so room-to-room comparisons are meaningful.
Sources and further reading
These primary public-health and safety resources support the monitor limitations, pollutant distinctions and testing guidance in this article:
Comments