
How to Test Your Home for Radon: Short-Term vs Long-Term Tests
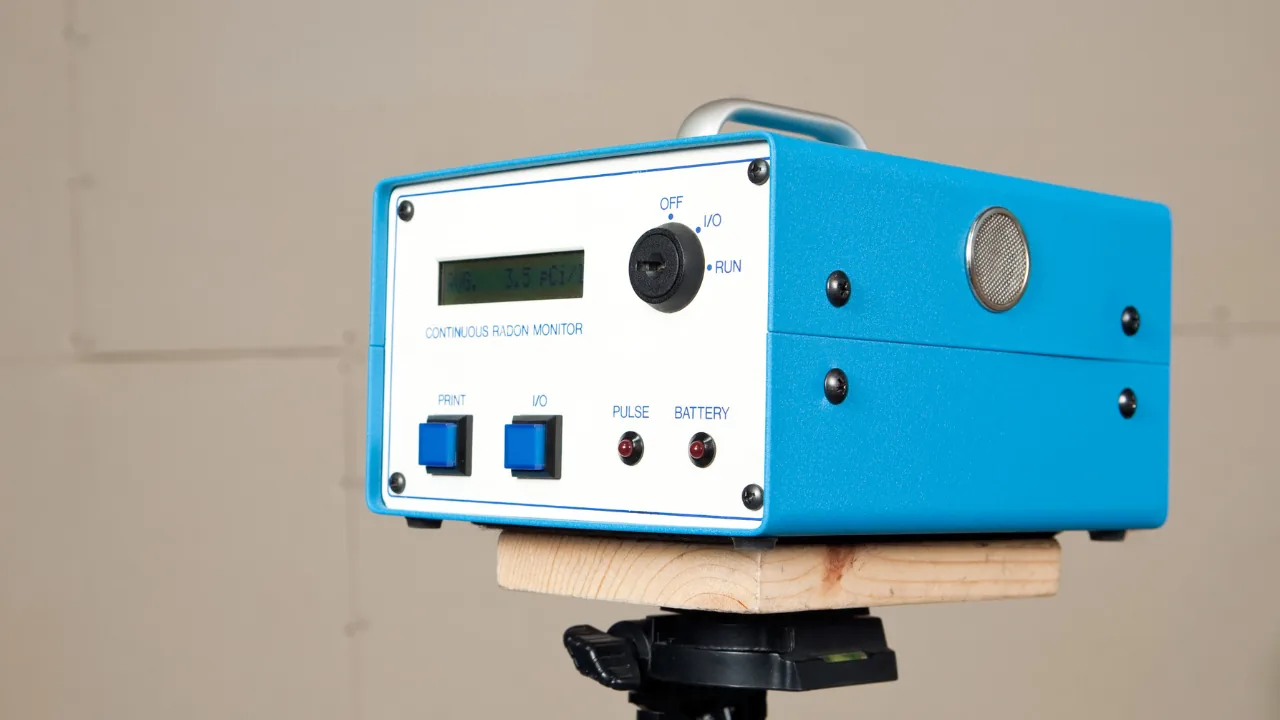
To test for radon at home, choose a radon-specific short-term kit, long-term detector, continuous monitor, or qualified tester; place it exactly as the device instructions require; preserve the required house conditions; and use the result to choose the correct follow-up step. A short-term test gives a faster screen, while a long-term test is more likely to represent your year-round average.[1][4]
That sounds simple. The catch is that the wrong room, a moved detector, open windows during a closed-house test, or an overconfident reading of one short sample can turn a useful test into expensive confusion.
This guide walks through the full process without inventing a “safe” number or pretending a generic indoor-air monitor can detect radon. If you are testing for a property transaction, follow your state and local requirements and consider a qualified measurement professional.
Image note: the monitor display in the featured image is illustrative. It is not a measurement from this article or from your home.
Watch “How to Test Your Home for Radon” directly on YouTube if the embedded player is unavailable.
Why radon testing is different from general air-quality monitoring
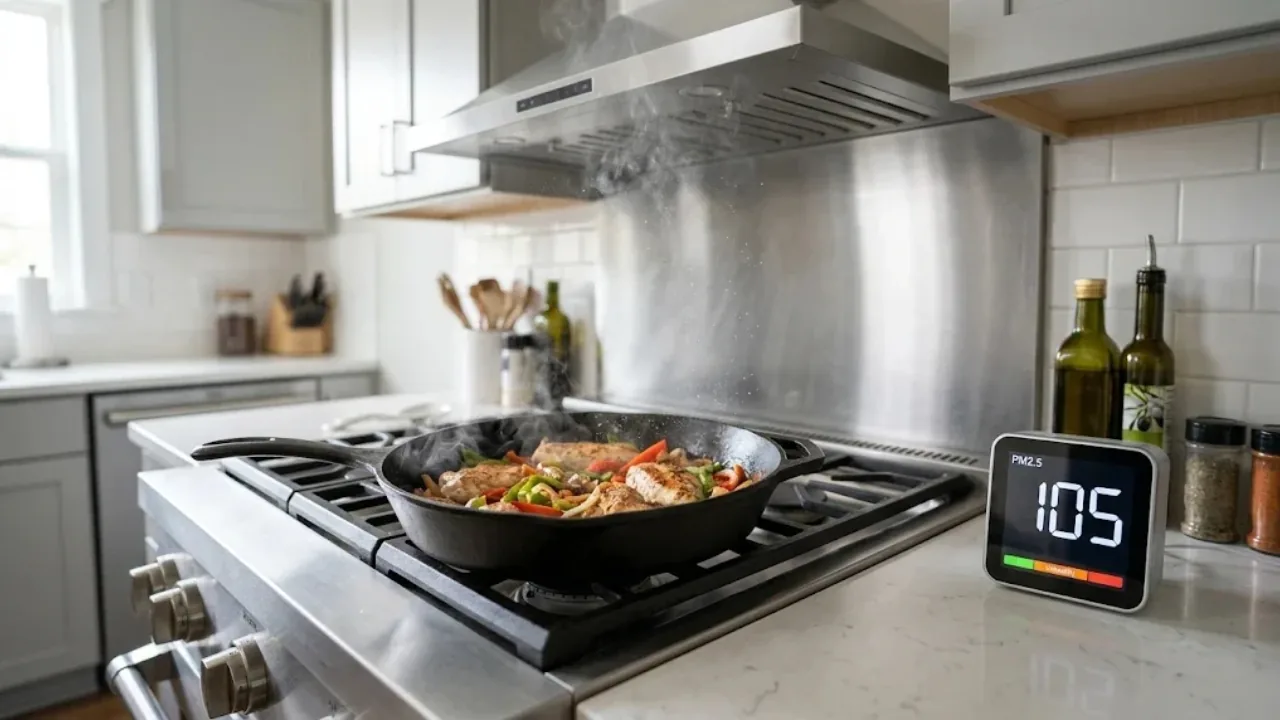
Radon is an invisible, odorless radioactive gas. You cannot see, smell, or taste it, and a standard PM2.5, carbon dioxide, humidity, or TVOC sensor does not measure it. The CDC states that testing is the only way to know whether a home has elevated radon.[1]
If you already use a multipollutant monitor, treat its readings as separate signals. Our guide to testing indoor air quality at home explains what common consumer sensors can—and cannot—tell you. Radon needs a radon-specific test.
For readers in the United States, EPA recommends fixing a home when a confirmed radon level is at or above 4 picocuries per liter (pCi/L) and considering action between 2 and 4 pCi/L. EPA also states that there is no known safe level of radon exposure.[2] Other countries and local jurisdictions may use different units, protocols, or reference levels, so use the rules that apply where the test is conducted.
Short-term vs long-term radon tests
The right test depends on the decision you need to make. “Faster” and “more representative” are different benefits.
Short-term radon tests: the faster screen
Short-term tests remain in the home for 2 to 90 days, depending on the device. They are useful when you need an initial result quickly. Because radon varies from day to day and season to season, a short test is less likely than a long test to represent the home's year-round average.[1][4]
Common short-term formats include charcoal canisters and some electronic or electret devices. The package instructions determine the minimum exposure time, placement, return method, and whether laboratory analysis is included.
Long-term radon tests: the broader picture
Long-term tests remain in place for more than 90 days. They are more likely to reflect the average radon level across changing weather and normal living patterns.[1][4]
A long-term test can be a better choice when the first result is near a decision threshold, when you want a more representative annual picture, or when you are monitoring the home after an initial screen. It is slower by design.
Continuous digital radon monitors
A continuous monitor can show how readings change over time and may help you notice patterns. It does not turn one daily spike into a diagnosis, and it does not override the device’s averaging period, official follow-up guidance, or real-estate testing requirements.
If you use an Airthings device, our Airthings radon-detector guide covers the interface and trend-reading basics. For placement, test duration, action decisions, and transaction testing, defer to the current device manual, EPA/CDC guidance, and your local program.
How to test for radon at home: step by step
1. Decide what question the test must answer
Are you screening a home that has never been tested, checking a basement before converting it into living space, confirming a previous result, verifying a mitigation system, or preparing for a sale? The purpose affects the test duration, location, and whether an independent professional is appropriate.
EPA notes that some state or county programs provide free or discounted kits. Test kits are also available through approved programs, online sellers, and some home-improvement stores.[3][5]
2. Read the exact instructions before opening or activating the test
This is not bureaucracy for sport. Passive test kits begin sampling when opened, and the allowed test window can be specific. Check the expiration date, required exposure period, laboratory fee, registration process, mailing deadline, placement clearances, and closed-house requirements before you start.
3. Choose the correct room and level
For a normal homeowner test, EPA’s guide directs users to the lowest lived-in level of the home—for example, a frequently used basement, or otherwise the first floor—and to a regularly used room such as a bedroom, living room, den, or playroom.[4]
That is not automatically the dampest corner, the crawl space, or the spot where you think the number will look most dramatic. Test the space relevant to actual or planned occupancy.
4. Keep the detector away from obvious interference
EPA advises placing the kit where it will not be disturbed and away from drafts, high heat, high humidity, and exterior walls. Its citizen guide specifies at least 20 inches above the floor and says not to use a kitchen or bathroom for the standard homeowner test.[4] Your kit may require additional clearances, so follow its instructions when they are more specific.
- Do not place it beside an exterior door, open window, supply register, return grille, fan, fireplace, or dehumidifier.
- Do not put it in direct sunlight or on a hot appliance.
- Keep it away from children, pets, cleaning activity, and any location where it may be moved.
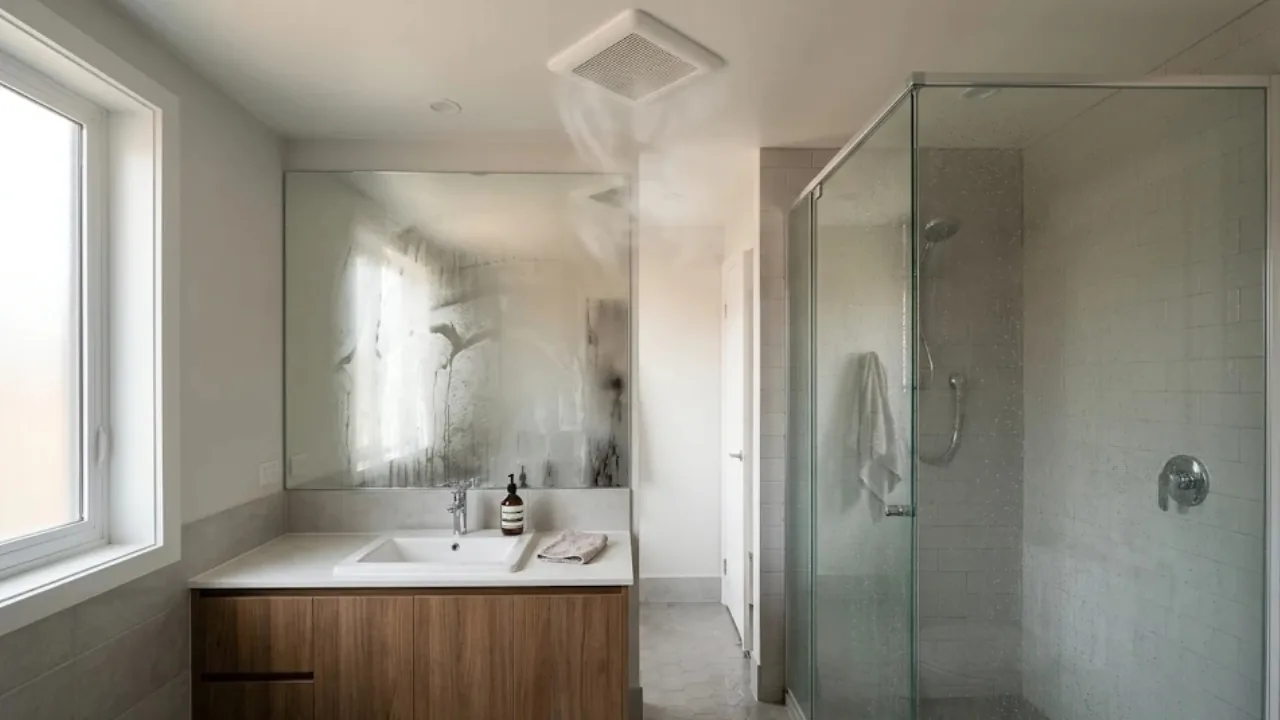
- Do not place a passive kit in a kitchen, bathroom, laundry room, crawl space, or closet unless a qualified protocol specifically requires it.
5. Maintain the required house conditions
For a short-term test, EPA instructs homeowners to keep windows and outside doors closed as much as possible during the test. For a two- or three-day test, EPA says to establish those conditions at least 12 hours before starting. Recirculating heating and air-conditioning fans may operate, but fans or machines that bring outdoor air inside should not run unless the protocol allows them.[4]
Normal entry and exit is fine. Propping a door open all afternoon is not. Do not manipulate the home to force a higher or lower result; reproduce the conditions specified by the test.
6. Record the setup
Write down the device or kit name, serial number, room, floor, exact position, start time, expected stop time, HVAC state, open-door or window events, and unusual weather. A photograph of the undisturbed setup can help if you later need to explain the test.
7. End, seal, register, or submit the test exactly as directed
When the specified period ends, record the stop time and follow the package instructions. Passive kits commonly need to be resealed and sent promptly to the named laboratory. Delaying shipment or missing the exposure window can undermine the result.[4]
How to interpret your radon result
A result is evidence for the next decision—not a medical diagnosis and not a certificate that every room is safe.
Below 2 pCi/L
EPA’s action-level page describes 2 pCi/L as below the range where it recommends considering a fix, but it also says no known safe exposure level exists.[2] Save the result and test again when the home, occupancy, or relevant guidance changes.
Between 2 and 4 pCi/L
EPA recommends considering radon reduction in this range.[2] A longer test may help characterize the year-round average, while your state radon program or a qualified professional can explain locally applicable next steps.
At or above 4 pCi/L
EPA recommends fixing a home at or above 4 pCi/L—but an elevated initial short-term result should normally be followed by another short-term or long-term test to confirm the decision path.[1][4] If the first result is substantially elevated or you need an answer quickly, official guidance may favor a second short-term test rather than waiting through a long-term measurement.
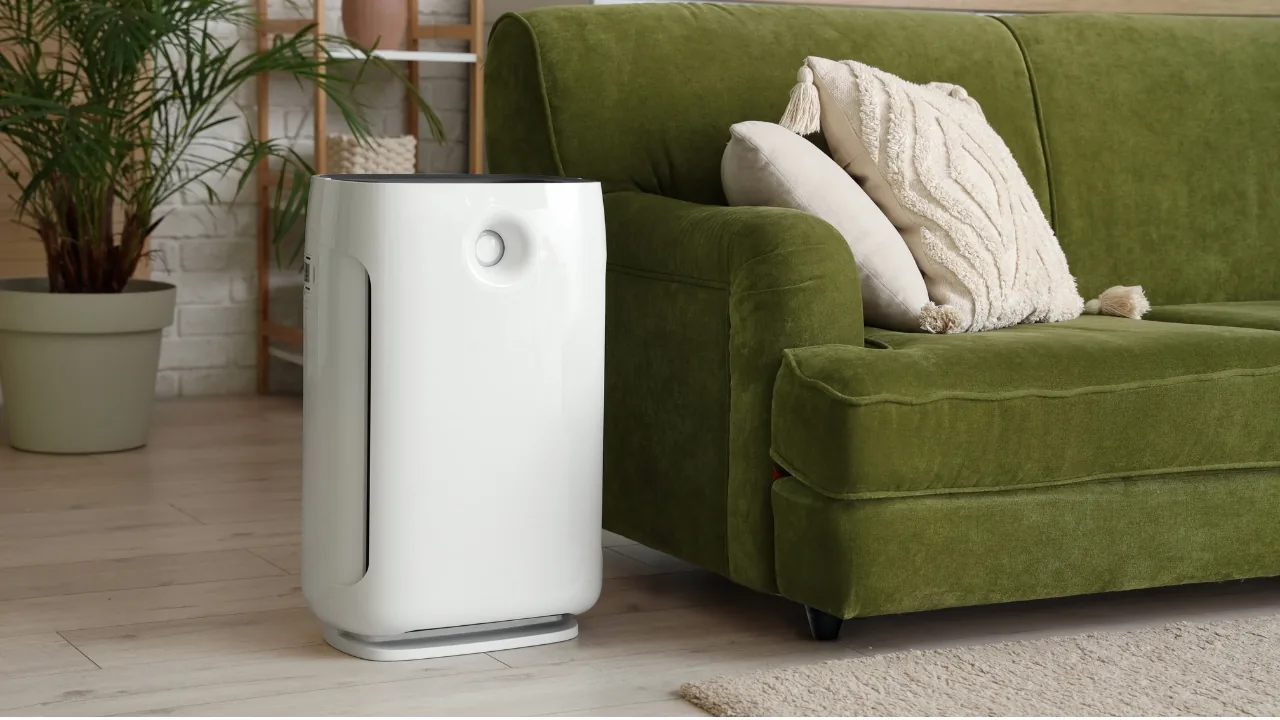
Do not use an ordinary particle air purifier as radon mitigation. HEPA filtration addresses particles, not the radon source entering through the building. Confirmed elevated radon calls for a qualified mitigation strategy appropriate to the foundation and building.
When to use a qualified radon professional
Professional measurement is especially useful for a real-estate transaction, disputed result, complex building, repeated inconsistent tests, or any case where an independent third party is required. EPA directs homeowners to their state radon program and recognizes state credentialing systems plus two national proficiency programs for qualified providers.[5]
Ask what method the professional will use, where the device will be placed, which standard or local rule applies, how test interference is documented, what the report includes, and whether the same company also sells the recommended mitigation. Independence and transparent methods beat a mysterious number in a PDF.
Common radon-testing mistakes
- Using the wrong sensor: a PM2.5, TVOC, CO2, or humidity monitor is not a radon test.
- Choosing a dramatic location: a crawl space or wet bathroom may not represent the occupied level and can violate the instructions.
- Ignoring the exposure window: stopping too early or leaving a passive kit open too long can invalidate it.
- Changing ventilation mid-test: open windows, whole-house fans, or unusual outdoor-air operation can distort a short-term result.
- Moving the detector: room-to-room touring destroys the consistency of a single test.
- Treating one short reading as a year-round average: short-term and long-term tests answer different questions.
- Skipping follow-up: mitigation decisions should use the applicable confirmation process, not panic.
- Assuming the neighbor’s result applies: radon can differ substantially between nearby homes; test the actual home.
Frequently asked questions
How long does a radon test take?
Short-term tests run for 2 to 90 days; long-term tests run for more than 90 days.[1] The exact exposure time comes from the device instructions.
Where is the best place to put a radon test?
For a standard homeowner test, use the lowest regularly occupied level and a room such as a bedroom, living room, den, or playroom. Keep the device away from drafts, heat, humidity, exterior openings, and disturbance, and obey the kit-specific clearances.[4]
Can I test for radon with an indoor-air-quality monitor?
Only if that exact device includes a radon sensor and is intended for radon measurement. A generic PM2.5, CO2, humidity, or TVOC monitor cannot clear a home for radon.
Should I use a short-term or long-term test first?
A short-term test is the quickest initial screen. A long-term test gives a result that is more likely to represent the year-round average.[4] The best follow-up depends on the first result, how quickly you need an answer, and local requirements.
Can an air purifier reduce radon?
A standard particle air purifier is not a substitute for radon mitigation. If testing confirms an elevated level, consult a qualified radon professional about a building-specific reduction system.
Do I need to test again after mitigation or renovation?
Yes. The CDC recommends testing after repairs intended to reduce radon and before and after relevant renovations or changes in how lower levels are used.[1] A mitigation system must be verified by measurement, not trusted because the fan is making noise.
The bottom line
Good radon testing is boring in the best way: the correct device, the correct room, stable test conditions, an undisturbed sampling period, and a documented follow-up decision. Skip any one of those and the number becomes harder to trust.
Start with the test instructions and official local guidance. Use a short-term test for a faster screen, a long-term test for a better estimate of the year-round average, and a qualified professional when the stakes or rules call for one. Measure first. Confirm appropriately. Fix the building if the evidence says it needs fixing.
Comments