
Why is my Nest thermostat flashing a red light?
When you use the Nest thermostat for a while, you will notice that it flashes different lights from time to time.
The lights can be confusing, especially if you have not read the user manual or understood what each light means.
For example, the green light means your Nest thermostat is updating, orange means you need to charge the device, and white means the thermostat is attempting to reconnect with the router.
But what does it mean when you see a blinking red light on a Nest thermostat?
Many people may interpret a flashing red light on the Nest thermostat as a sign of a problem with the device.
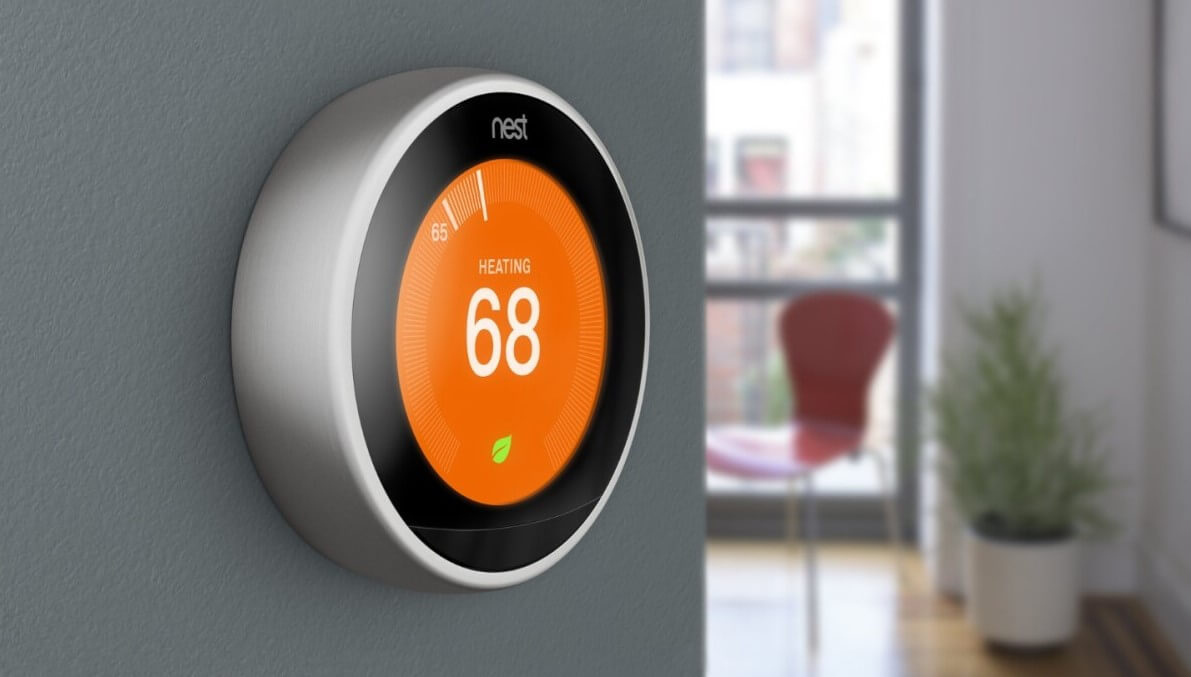
Generally, a red light may or may not be a sign of trouble. In other words, a red light at the top of your thermostat’s display means the battery is low and requires charging or is charging.
But when you have fully charged the battery, but the thermostat still displays a flashing red light, there is a problem that requires your attention.
What does a blinking red light on a Nest thermostat mean?
Several reasons can explain why the Nest thermostat flashes a red light.
- The battery is low and requires charging.
- The battery is currently charging.
- Your thermostat has a power issue.
- The thermostat’s wiring has a problem.
A flashing red light can also indicate that your thermostat requires maintenance.
How to fix a Nest thermostat that is flashing a red light
These Nest thermostat troubleshooting tips are meant for situations where the red LED has been blinking for a while and doesn’t seem to stop.
1. The red light will disappear
Sometimes, the red light may blink for a while and disappear. But that disappearance should be permanent.
Therefore, if the blinking red light shows up and disappears and the same thing happens repeatedly, your Nest thermostat still has an issue.
2. Charge the thermostat
A blinking red light on a Nest thermostat could mean the battery is low. However, it could also mean the battery is currently charging.
Therefore, wait until the battery charges to 100%.
But while the battery charges, do not use the thermostat to control your home’s cooling or heating. Wait until it is fully charged.
Your thermostat may go off if the battery was too low. There is no need for concern since it will turn on eventually after charging.
3. Use a USB cable to increase the charging speed
If you have charged the Nest thermostat for a long time, but it has not turned on, consider speed charging the unit using a USB cable.
Here is what you should do:
- Remove the thermostat display.
- You will see a USB port on the back of the unit.
- Insert a USB cable in the port and connect it to a wall charger. Avoid charging your Nest thermostat using a computer or unpowered USB port.
- The thermostat’s display will light up and ask you to connect to the base.
The final step is to reconnect the display to its base by pressing firmly until it clicks into place.
4. Check the thermostat’s power readings
The power readings on a Nest thermostat can tell whether it has a power issue or faulty wiring. Here is what you should do:
- First, charge the thermostat with a USB cable until it is 100% full.
- Then, reconnect the display to the base.
- Next, go to Settings > Technical Info > Power.
At this point, you have to determine the Voc, Vin, and Lin values. But, again, the values should be within the recommended ranges.
However, the ranges will depend on whether your Nest thermostat HAS or DOES NOT have a C wire. Therefore:
If the thermostat DOES NOT have a C wire, the Voc, Vin, and Lin values should be as follows:
- Voc: 29 to 42V.
- Vin: 29 to 42V when the system is not running and 6 to 7V when the system is running.
- Lin: 20 to 40 mA.
If the thermostat HAS a C wire:
- Voc: 29 to 42V.
- Vin: 29 to 42V.
- Lin: 100 or 200 mA.
If the power values exceed the recommended range, the Nest thermostat is not getting enough power to charge the battery. It could also indicate an issue with the wiring or system.
5. Check the wiring

You can check the wiring by connecting the C wire or Power Connector to the thermostat. If your system’s control board has a C wire, connect it to the device’s connector.
Also, ensure all wires are in the correct thermostat connectors. But if the thermostat does not have a C wire, it uses a high voltage line, meaning you must turn off power to your home at the breaker.
Alternatively, you will have to install the Nest Power Connector if your system does not have one.
That will provide a stable power source for the device when the system cannot deliver enough consistent power. However, be careful when installing.
If you are unfamiliar with such installations, consider leaving the process to a professional.
6. Check your system
If you have not maintained your heating and cooling system for a while, it could cause a flashing red light on the thermostat.
Ideally, the Nest thermostat system will overheat and turn off when you have a clogged air filter. The thermostat will not get enough power to charge the battery and the red light might start to flash rapidly.
In such situations, the culprit is the wiring.
How long does the Nest thermostat take to charge?
A Nest thermostat should take between 30 to 60 minutes to charge fully.
But if the battery is at 0%, a recharge can take up to two hours.
How do you know if your Nest is charging?
Your Nest thermostat will blink a specific light to confirm the charging.
The charging color will depend on the battery level.
Final thoughts
When the Nest thermostat is flashing red light, it could mean the battery is low or charging. The red light also indicates the device has a power or wiring problem.
Consider charging the thermostat to 100% to see whether it disappears. But you may also have to check the wiring and power readings to ensure it is working as it should.